

How to properly install a heater motor magnet?
A heater motor magnet is a crucial component in the heating system of vehicles, playing a vital role in the operation of the heater motor. As a heater motor magnet supplier, we understand the significance of proper installation for optimal performance and longevity of the magnet. In this blog, we will provide you with a comprehensive guide on how to properly install a heater motor magnet.
Understanding the Heater Motor Magnet
Before delving into the installation process, it's essential to understand the function and types of heater motor magnets. Heater motor magnets are used to create a magnetic field that drives the rotation of the motor's armature. This rotation powers the fan that blows hot air into the vehicle's cabin.
There are different types of heater motor magnets available, each designed for specific vehicle models and applications. For instance, MPV Heater Motor Magnet is tailored for MPV vehicles, SUV Heater Motor Magnet for SUVs, and Truck Heater Motor Magnet for trucks. Choosing the right magnet for your vehicle is the first step towards a successful installation.
Pre - installation Preparations
- Gather the Necessary Tools
- You will need a set of basic hand tools such as screwdrivers (both flat - head and Phillips - head), pliers, and a socket wrench set. These tools will help you remove and install various components during the process.
- Safety First
- Ensure that the vehicle's battery is disconnected before starting the installation. This will prevent any electrical shocks or short - circuits. Also, wear appropriate safety gear, including gloves and safety glasses.
- Identify the Correct Magnet
- Refer to your vehicle's manual or consult with us as your supplier to confirm that you have the right heater motor magnet for your specific vehicle make and model.
Installation Steps
Step 1: Locate the Heater Motor
The heater motor is usually located under the dashboard on the passenger side of the vehicle. However, the exact location may vary depending on the vehicle's design. You may need to remove some panels to access the heater motor. Use your screwdriver to carefully remove any screws or clips holding the panels in place.
Step 2: Remove the Old Magnet
Once you have access to the heater motor, you will see the old magnet. In most cases, the magnet is held in place by a retaining clip or a set of screws. Use your pliers or socket wrench to remove the retaining clip or screws. Gently lift the old magnet out of the motor housing. Be careful not to damage the motor's internal components during this process.
Step 3: Clean the Motor Housing
Before installing the new magnet, it's important to clean the motor housing. Use a clean, dry cloth to remove any dirt, dust, or debris from the housing. This will ensure a proper fit and prevent any interference with the new magnet's performance.
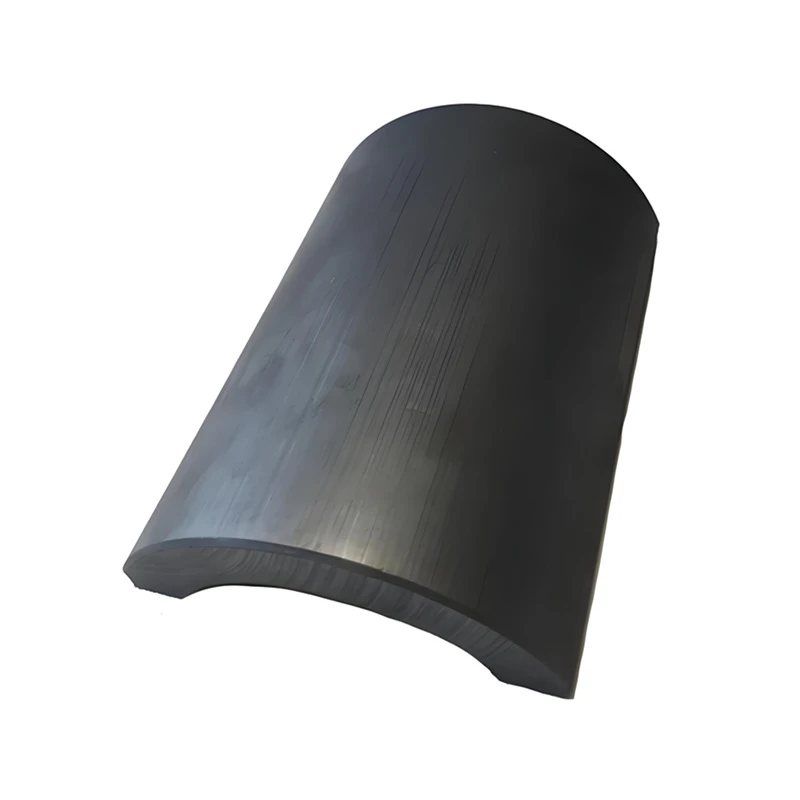

Step 4: Install the New Magnet
Take the new heater motor magnet and carefully place it in the motor housing. Make sure the magnet is properly aligned with the motor's internal components. If there are any markings or guides on the magnet or the housing, follow them to ensure correct installation. Once the magnet is in place, secure it with the retaining clip or screws that you removed earlier.
Step 5: Reassemble the Heater Motor and Panels
After installing the new magnet, reassemble the heater motor. Make sure all connections are secure and properly seated. Then, reattach the panels that you removed earlier to access the motor. Use your screwdriver to tighten the screws or clips.
Step 6: Reconnect the Battery
Once the installation is complete, reconnect the vehicle's battery. This will restore power to the heater motor.
Post - installation Checks
- Test the Heater
- Start the vehicle and turn on the heater. Check if the fan is working properly and if hot air is blowing into the cabin. If there are any unusual noises or the fan is not working, there may be an issue with the installation.
- Inspect for Leaks
- Check for any signs of fluid leaks around the heater motor area. Fluid leaks can indicate a problem with the installation or a damaged component.
Troubleshooting
If you encounter any problems during or after the installation, here are some common issues and solutions:
- Fan not working: Check if the electrical connections are secure. Also, make sure the new magnet is properly installed and aligned.
- Unusual noises: This could be due to a loose magnet or a misaligned component. Check the installation and tighten any loose parts.
Why Choose Our Heater Motor Magnets
As a leading heater motor magnet supplier, we offer high - quality magnets that are designed to meet the strictest standards. Our magnets are made from premium materials, ensuring durability and reliable performance. We have a wide range of products, including MPV Heater Motor Magnet, SUV Heater Motor Magnet, and Truck Heater Motor Magnet, to suit different vehicle types.
Contact Us for Procurement
If you are interested in purchasing our heater motor magnets or have any questions about installation or product selection, we encourage you to contact us for procurement discussions. Our team of experts is ready to assist you in finding the right solutions for your needs.
References
- Automotive Repair Manuals: Various vehicle - specific repair manuals provide detailed information on heater motor components and installation procedures.
- Industry Standards and Guidelines: These standards ensure the proper design, manufacturing, and installation of heater motor magnets.